
People are a common subject for anybody interested in art or drawing. Humans are innately good at recognising faces, which makes them much harder to draw.
However, there are a few simple steps to drawing a human face, and here they are.


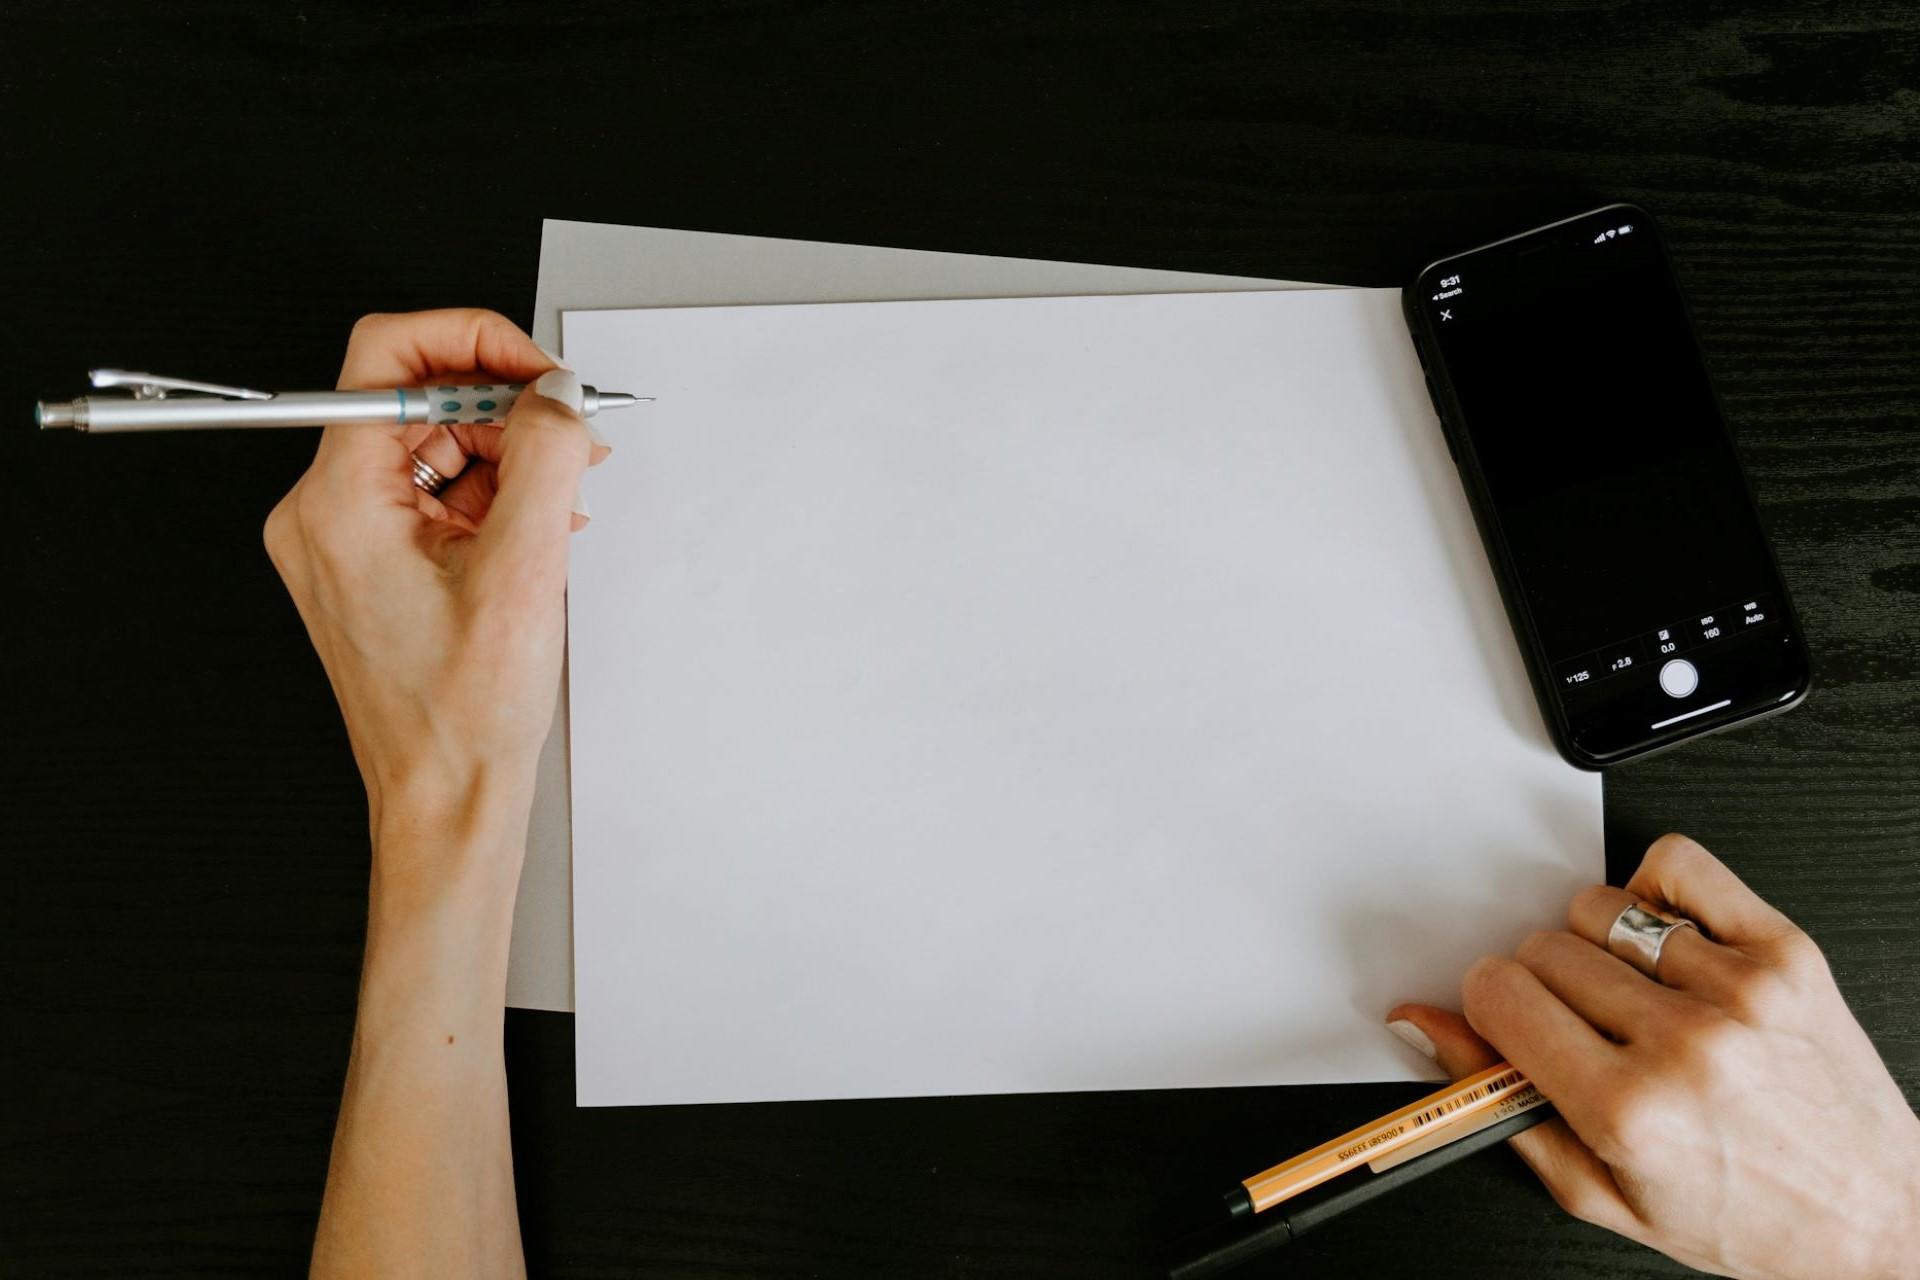
What You'll Need
If you want to start drawing, you'll need:
- A pencil
- An eraser
- A fibre tip pen (for outlining)
- Paper
Remember, sketching and drawing lightly is a significant part of drawing a face. This allows you to make adjustments and corrections as you go. So, don't make bold marks on the paper with your pencil until the end.
There are lots of different drawing styles, but we'll be keeping everything simple today. Remember to draw everything so lightly that you can erase all your construction lines once finished.
Step 1: Draw an Oval
Drawing a face starts with an oval. While you can use a "perfect" oval, drawing something that looks like an upside-down egg is probably better. Today, we'll be drawing a somewhat realistic face rather than drawing in a manga style or a cartoony style.
Don't be discouraged if your first attempt at drawing an oval isn't perfect. Remember, this shape is just a guide, not the final product. With each face you draw, you'll improve and refine your technique.
Essentially, the top of your egg will later become the top of the skull, while the bottom pointed part will taper down towards a chin.
If you were drawing a cartoon or comic character, for example, you'd likely use a shape other than an oval.
Step 2: Add Construction Lines
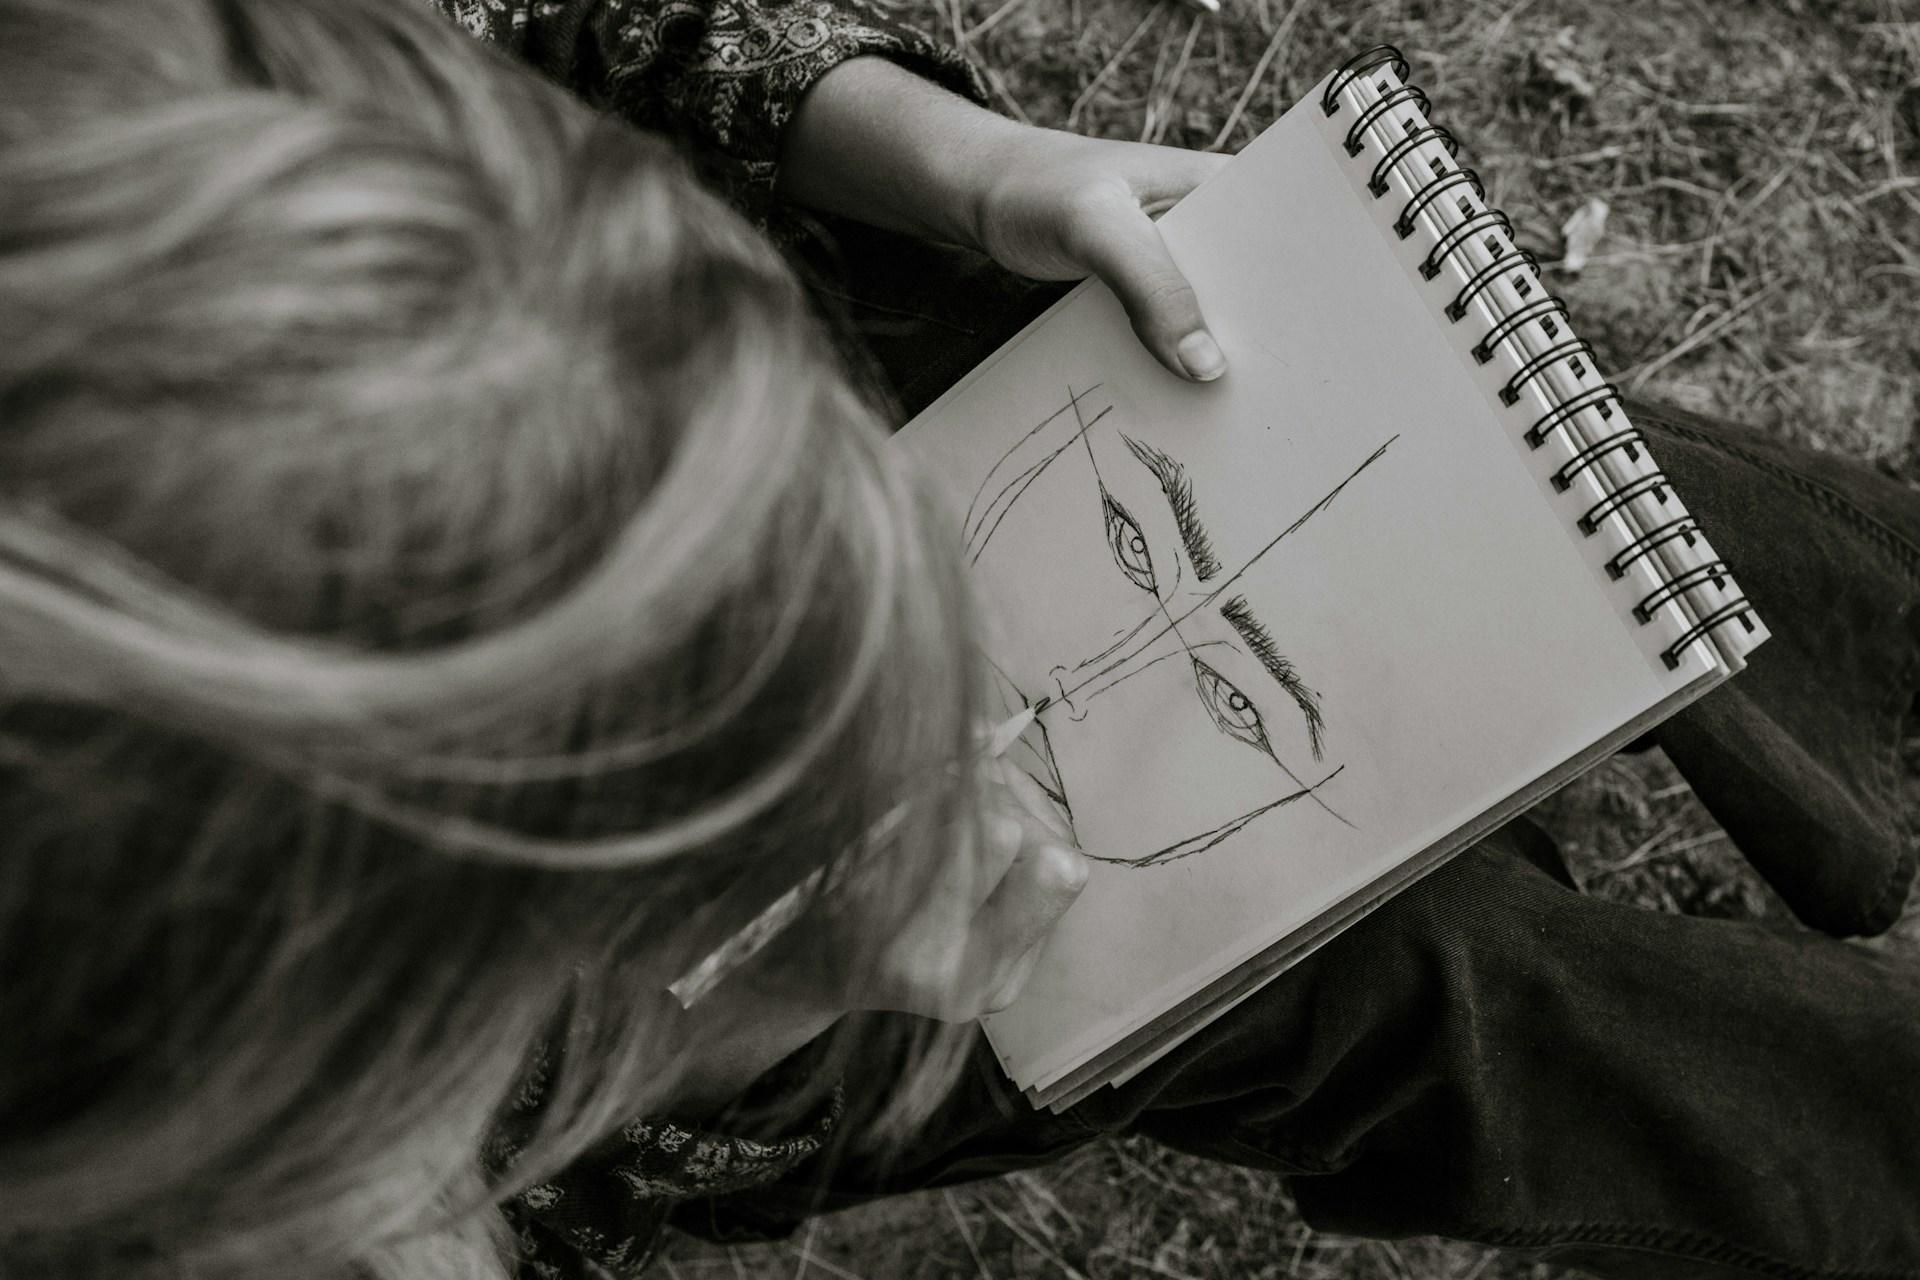
Now that you have your basic face shape, you can start putting in construction lines. The first two and most important construction lines will intersect the middle of the face horizontally and vertically.
Start by drawing a vertical line down the middle of the face. This will help split the face into two equal sides.
Now, draw a horizontal line halfway up the face. This will provide you with the middle point of the face for features like the eyes and ears, which tend to show up here.
Let's call this construction line the “eye line”. You can label it on the edge of your drawing if you'd like.
Step 3: Add Construction Lines for the nose and mouth
Further, divide the face vertically in half and draw another horizontal construction line. This line should be halfway between the horizontal line and the bottom of the chin. This is essentially at the ¾ or ¼ point of the face (whether you're starting at the top or the bottom). This line will help you place the nose.
We'll refer to this line as the “nose line”. Feel free to label it.
Divide the remaining space between the new construction line and the bottom of the chin in half again and draw another horizontal construction line. This will be used to draw the mouth. We'll call it the "mouth line" throughout the rest of this guide, and like with the other lines, feel free to label it (outside of the drawing space) if it helps.
Step 4: Draw the Eye Sockets
Now that you have all your construction lines in place, you can start by drawing the eyes. Eyes can be complicated to draw, so start with basic construction lines outlining the eye sockets.
To do this, draw two large circles that go from where the eyebrows will be to the top of the cheekbones. These circles will serve as the outline for the eyes. We can leave these there for now.
Wait to start filling anything in until you have all the basic features in place.
Step 5: Draw the Nose
Draw a nose starting on the top of the “nose line”. The easiest way is to start with the bottom of the nose and the nostrils.
A basic way to do this is with a sort of rounded “w” shape or you could also do this by loosely drawing parentheses for the outside of the nose, with a curve in one direction and then the other for the outside. For the inner part of the nose and the nostrils, a flattened “u” shape can work, too. This is tricky, especially for beginners, so keep practising.
You can create the nose outline with simple lines that curve up to the top of the eye socket circles.
Step 6: Draw the Mouth
Start by drawing the bottom lip. The bottom of the bottom lip should touch the "mouth line" that we created earlier.
The top lip will only reach halfway between the "mouth line" and the "nose line," so feel free to make a tiny mark around here if it helps.
The line between the two lips resembles a flat "m" shape. Lips are another facial feature that can be difficult to draw. Try to break them down into the basic geometric shapes they're made of and practise drawing them first.
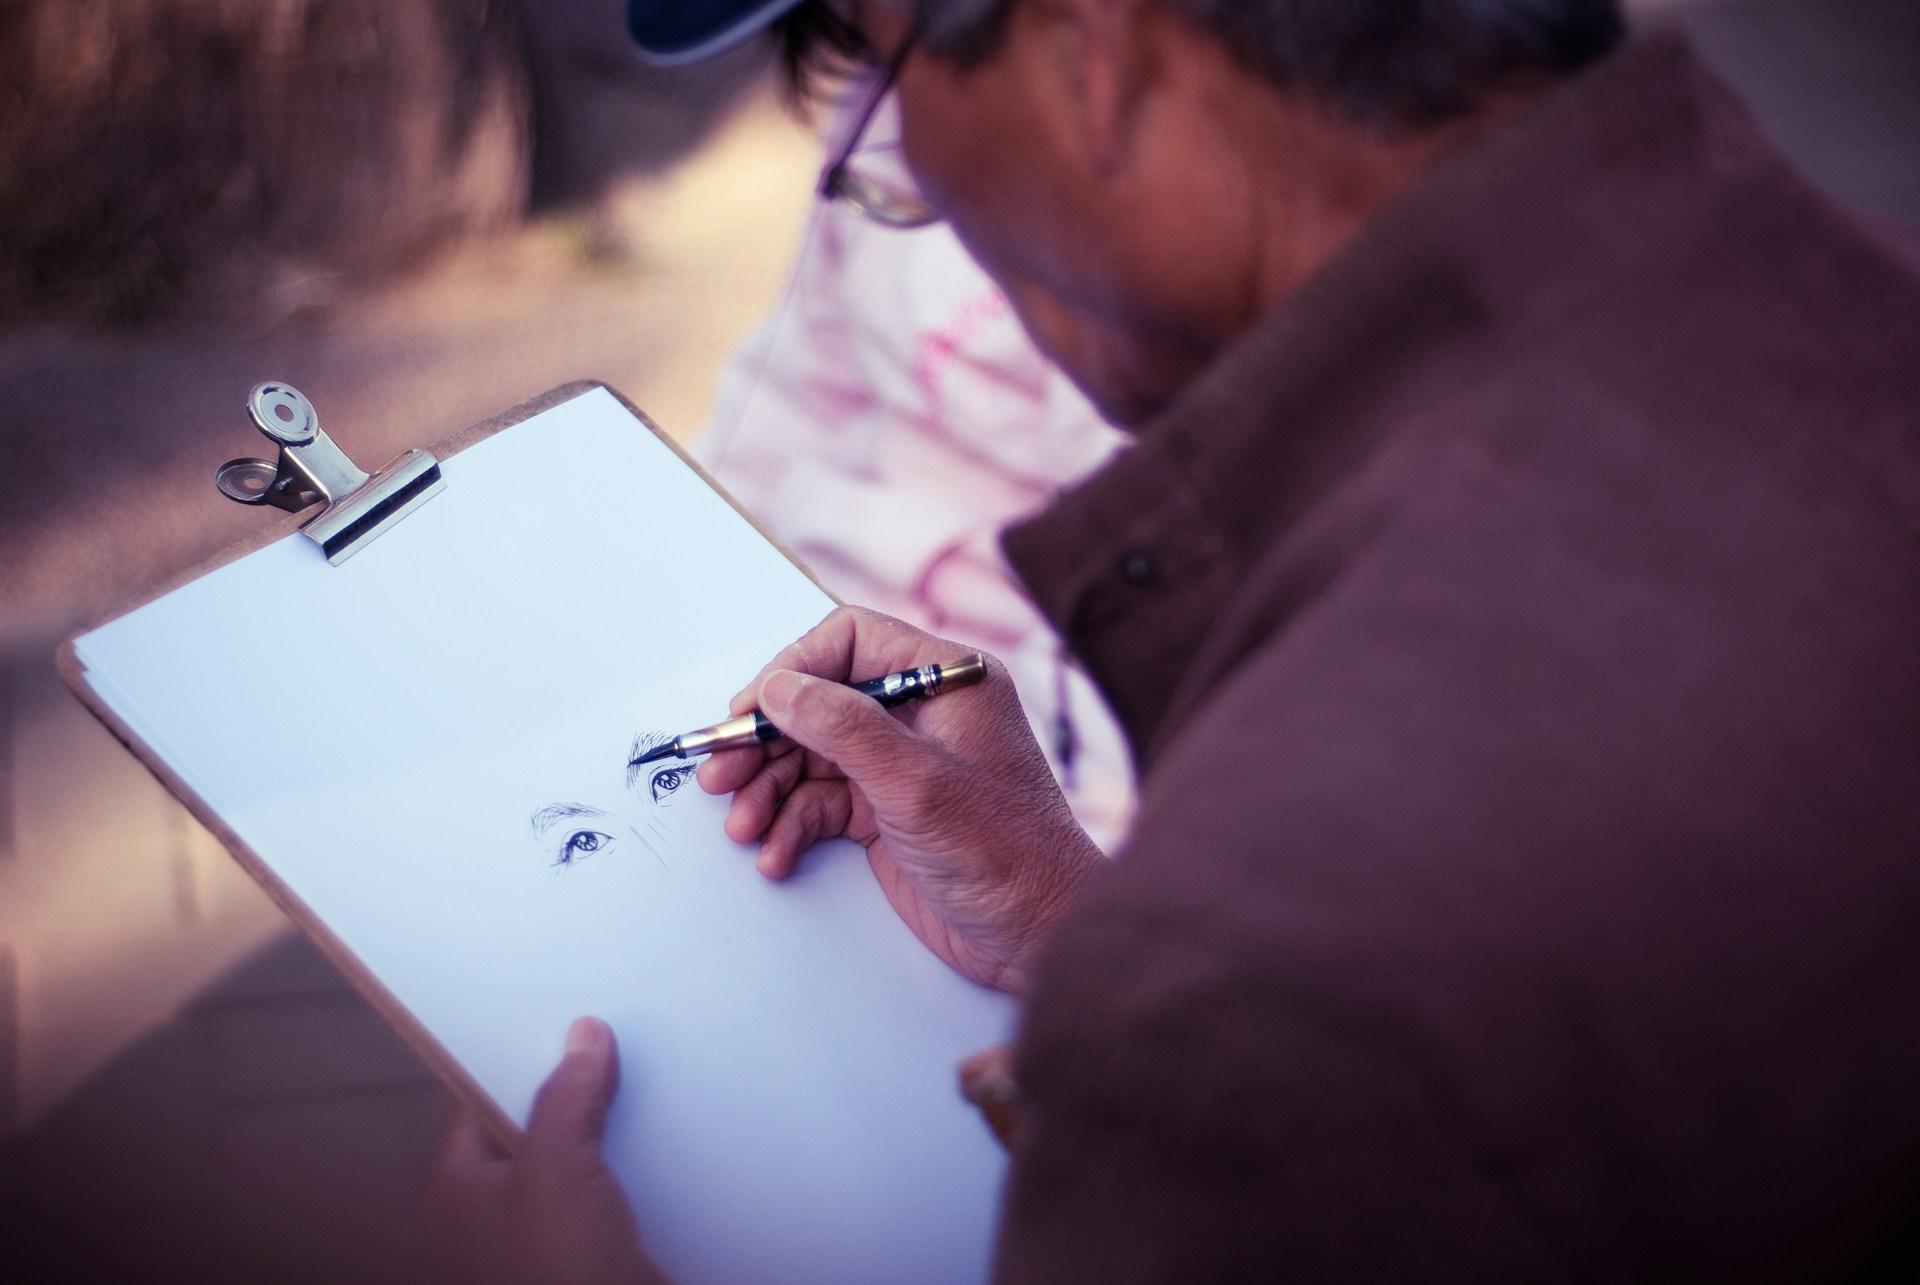
Step 7: Draw the Eyes and Eyebrows
Now, you should have the nose, mouth, and eye sockets in place. While your drawing won't look particularly realistic at this point, it should start to take shape as a somewhat humanoid face.
Add more life to it by drawing in the eyebrows first. These will follow along the top of the eye socket circles you drew earlier, tapering towards the outside.
The inside of the eyebrows, however, can move away from the inside edge of the eye socket circle, as if they're following an imaginary line to meet each other in the middle. You can use curved triangles to structure the eyebrows.
For the eyes, you can draw them in an almond shape, remembering that they typically have the space of another eye between them. If it helps, draw a third eye on the bridge of the nose lightly as construction lines to help space the eyes out.
Step 8: Draw the Ears
All our construction lines from earlier will help a lot here. The upper curve of the ears will start at the “eye line” before dipping down and roughly following the contour of the face. The ear lobes will drop down onto the “nose line”.
The ears are another feature that will take practice and also something you can play around with. Different people have slightly different shaped ears and you can create some interesting faces by drawing the ears differently. Don't be afraid to experiment and make your drawings unique!
Step 9: The Jaw and Chin
While your original oval or "upside down" egg has served as a guide until now, you can start altering or tweaking it.
If you did it well right at the start, it won't need much change, but you can now refine the shape of the jaw and chin if you'd like.
Over time, you can develop a style for facial features. These kinds of design elements, just like when designing a logo, can give your work a visual identity.
Step 10: Add Hair
Hair is another feature that you can get creative with.
Will the face you're drawing have long hair, short hair, or no hair?
If you draw somebody without hair, you're done. However, we could write an entire tutorial on how to draw hair, so for now, try to keep everything simple.
Where the hair is and where it goes is up to you, but you could imagine the hairline starting halfway up between the "eye line" and the top of your oval.
To indicate the hair has volume, the silhouette or outline of the hair should extend slightly beyond your original oval. However, it's entirely up to you.
With hair, you can use colour and shade to give it a 3D effect, but if you want to draw 3D objects, you'll need to practise various drawing techniques.
Step 11: Shade, Colour, and Finish
If you're confident about your drawing, you can always go over the “real lines” with a fibre tip pen or something more permanent.
Some pens won't smudge if you use an eraser, so use one of these for all the permanent lines, ignoring all the construction lines you used during your drawing. You can either colour here or after you've removed the construction lines.
If you're going to colour using pens or similar, you can do it now. However, if you're going to colour using pencils or something that may be erased, do it after you've removed your construction lines.
Here's where you can add other details like tattoos.
Step 12: Clean up the construction lines
Now we're at the magic moment. Take an eraser to all the construction lines on your drawing. Be gentle; you don't want to tear the paper or smudge the permanent lines.
If you were gentle when drawing all the construction lines, these should be erased easily enough.
You should be left with a much nicer version of your drawing.
Get Help with Drawing from a Private Tutor on Superprof
If you'd like to learn more about drawing or become a better artist, why not learn from a private tutor?
On the Superprof website, plenty of experienced and qualified private art tutors can help you.
Just search for what you'd like to learn, and you can start browsing the tutor's profiles, see how much they charge, and read what their other students think of them.
Many offer the first lesson for free, so why not try a few before choosing the right one for you and what you want to learn?
Summarise with AI:
Did you like this article? Leave a rating!


